A motorcycle fairing is used to improve a bike’s aerodynamics, performance, and aesthetics. But if your motorcycle fairing has chipped paint, color fade, or large scratches, it will do little to improve your motorbike’s style. Sometimes, aftermarket motorcycle fairings are not available in your preferred color. After all, color matching the fairing with your motorcycle’s frame is important to create a sophisticated custom look. Whether you want to restore the paint on your motorcycle fairing or change its original color, it is possible to accomplish either by using spray paint at home. This will save you hundreds of dollars you would have spent on a simple paint job and hours that would have been spent to find a skilled painter and negotiate costs. Plus, painting a motorcycle part yourself can be fun. If you learn how to paint the fairing on your own, you will be able to customize your fairings any time you want.
Table of Content
1. Features of a High-Quality Motorcycle Fairing Spray Paint
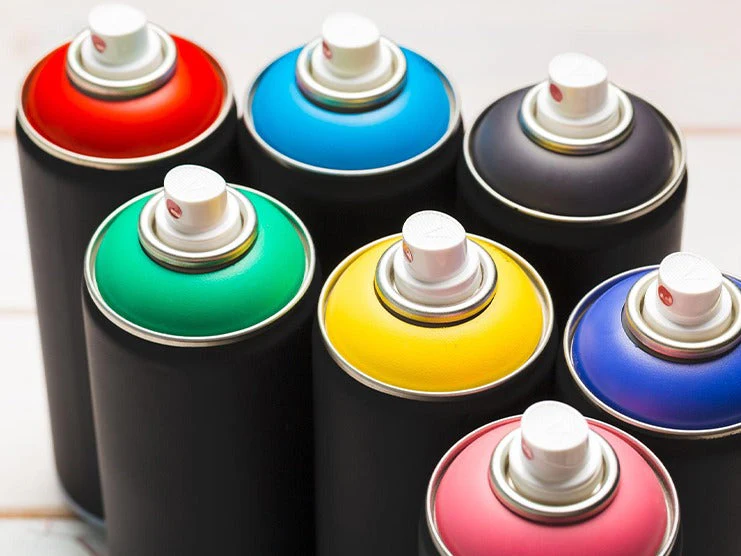
To achieve a successful paint job, you need high-quality paint. Picking any rattle can from the hardware store won’t work in your favor. Low-quality paint has the following problems:
- Poor consistency
- An uncomfortable nozzle that does not spray properly
- Offers poor coverage
- Fades and peels off quickly
- More paint is required
- Fails to hide flaws
- Cheap clear coat turns yellow due to sun exposure
- Requires frequent touch–ups
When buying paint for a motorcycle fairing, look for automotive paint with the following features:
- Optimal resistance against scratching and abrasions
- High glossy finish
- Dries quickly
- Durable
- Heat-resistant
- Easy to apply
- Long-lasting color effect
Also Read: Best Paints for Custom Motorcycle Fairings
Tools Required
- Screwdriver
- Allen Wrench
- Rubbing Alcohol
- Scouring Pad
- 400 Grit Sandpaper
- 800 Grit Sandpaper
- Blower
- 2,000 Grit Sandpaper
- Primer
- Body Filler
- Spray Paint (rattle can)
- Clear Coat (rattle can)
- Paint Defect Removing Polish
|
Minimum Time Required Cleaning and sanding the fairings for a paint job takes up most of the time during the process. Experienced painters can paint their fairings within two hours. Others may require two days to complete their projects. |
1.1 Remove and Disassemble the Fairing
Use an Allen wrench to unfasten the mounting bolts and remove the fairing from the frame. Keep the bolts and nuts safe for later. If the motorcycle fairing has a windshield, fairing bag, or other detachable parts, remove them. This will make painting easier as you won’t have to cover the parts you don’t want to get paint on.
1.2 Rub the Alcohol
Take a thin scouring pad, wet it with alcohol, and rub it all over the fairing to remove grease and dirt.
1.3 Remove the Shine
Once the fairing is clean, dry sand it with 400 grit sandpaper to remove the lacquer shine. The gloss will prevent the new paint from sticking to the fairing and the paint may start to peel from these areas. Use a blower to remove leftover dust due to the dry sanding.
1.4 Sand Some More
Next, use 800 grit sandpaper to remove any old paint, gloss, and create a smooth texture to apply new paint. This should help improve adhesion between the paint and surface and ensure a sophisticated finish.


1.5 Apply the Primer & Fill Any Imperfections
This step is often ignored because spray paint can be applied directly after sanding the fairing. But the primer and body filler helps cover any dents, holes, and scratches. Plus, they improve the adhesion of the paint with the surface. Apply one thin coat of primer and let it dry. Then apply pea-sized amounts of spot putty or body filler on the damaged areas. Use 400 grit sandpaper to sand off any excess filler. Clean the surface with a lint-free microfiber cloth.
1.6 Shake the Rattle Can and Apply the Paint
Apply at least four coats of spray paint and wait for five minutes in between. Leave the paint to dry for one hour.
1.7 Apply the Clear Coat
After an hour, the fairing should be completely dry. Touch the surface to confirm before applying the clear coat. Apply three coats of clear just the same way you applied the paint, waiting for five minutes in between.
1.8 Wet Sand & Buff
Wet sand and buff the clear coat with 2,000 grit sandpaper. After sanding the surface, clean the fairing with a cloth and leave it to dry.
1.9 Polish
Apply the paint defect removing polish and buff the fairing with a surface polisher. Continue buffing until the fairing shows a high glossy finish.
1.10 Reassemble the Fairing
Reinstall the newly-painted fairing on your motorcycle. Apply loctite on the bolts first, and then secure them to the frame with the right amount of torque.
| Quick Tips |
|---|
| To get a consistent spray pattern, put the rattle cans in warm water for at least an hour before applying the paint. Make sure you dry the cans completely before starting the paint job. |
| Keep the rattle can 6-10 inches away from the fairing to avoid paint run-off. |
| Avoid painting your fairings in extreme temperatures. For the best results, wait for a cool and slightly humid day. In cold temperatures, the paint becomes thicker and does not flow properly from the nozzle. Even if you put the cans in warm water, the paint will harden in the air before landing on the surface. |
| If it's too hot outside, the paint becomes too thin and flows over the fairing, leaving spray lines behind. You would have to use more paint than required. |
| Sanding the fairing by hand takes longer and might not give you the desired results. Try to use an electric sander to get the best paint finish. |
| Always pay extra attention to the edges and corners of the fairing when sanding. These are the areas where the paint starts to peel and crack first. |
| Flat matte colors highlight fingerprints, grease spots, scratches and other imperfections. Try to use a darker color if you opt for a matte finish. On the other hand, light color epoxy spray paints with a glossy finish are durable and hide imperfections well. |
| Apply 3-4 thin layers of paint but give each layer at least 10 minutes to dry, so all layers combine into a single solid coat. |
| It is important to know the quantity of paint in the can before using it. A near-empty can spray paint bubbles that create blisters and ruin the paint job. |
2. Takeaway
Painting a motorcycle fairing with rattle spray is convenient and budget-friendly, but don’t expect a can of spray paint to provide a lustrous finish. Painting motorcycle fairings with a rattle can give them a new look for sometime, but it fades quickly, especially if you don’t prep the surface properly before painting and care for the paint afterward. Compared to a rattle can, lacquer paint applied with a spray gun offers a more professional finish. So, if you can afford to buy lacquer paint and can work with a spray gun, then avoid using spray cans. A motorcycle fairing is one of the most expensive aftermarket accessories. The last thing you want is to ruin the paint job due to poor painting skills. Always buy an extra spray can to practice before applying paint on your fairing.
Popular Collections


Leave a comment
All comments are moderated before being published.
This site is protected by hCaptcha and the hCaptcha Privacy Policy and Terms of Service apply.