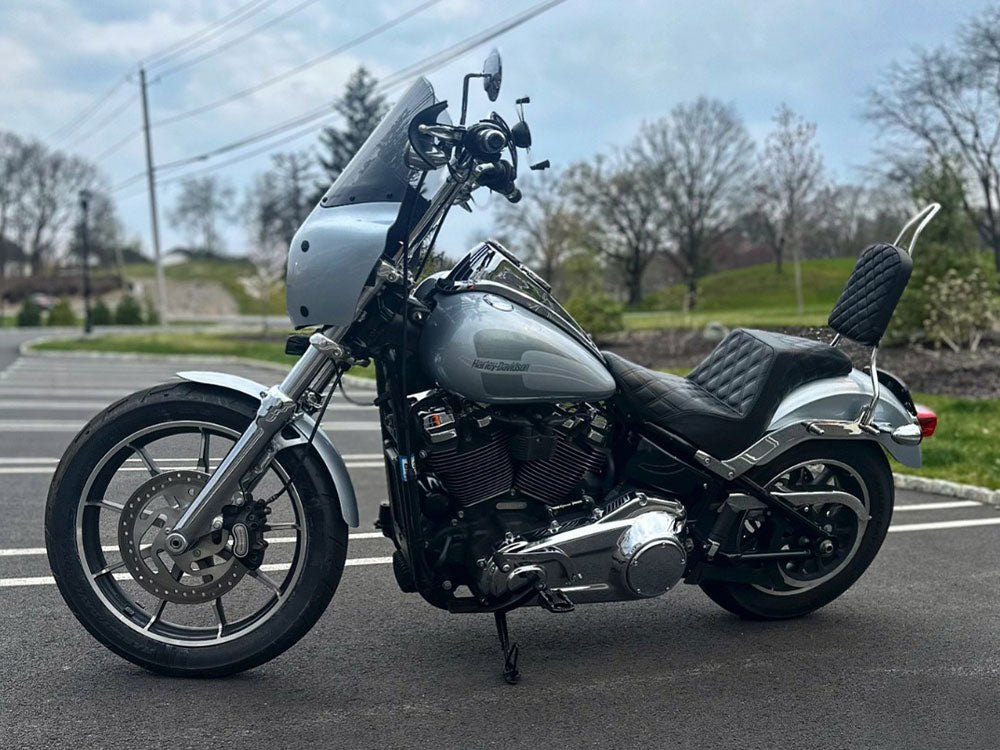
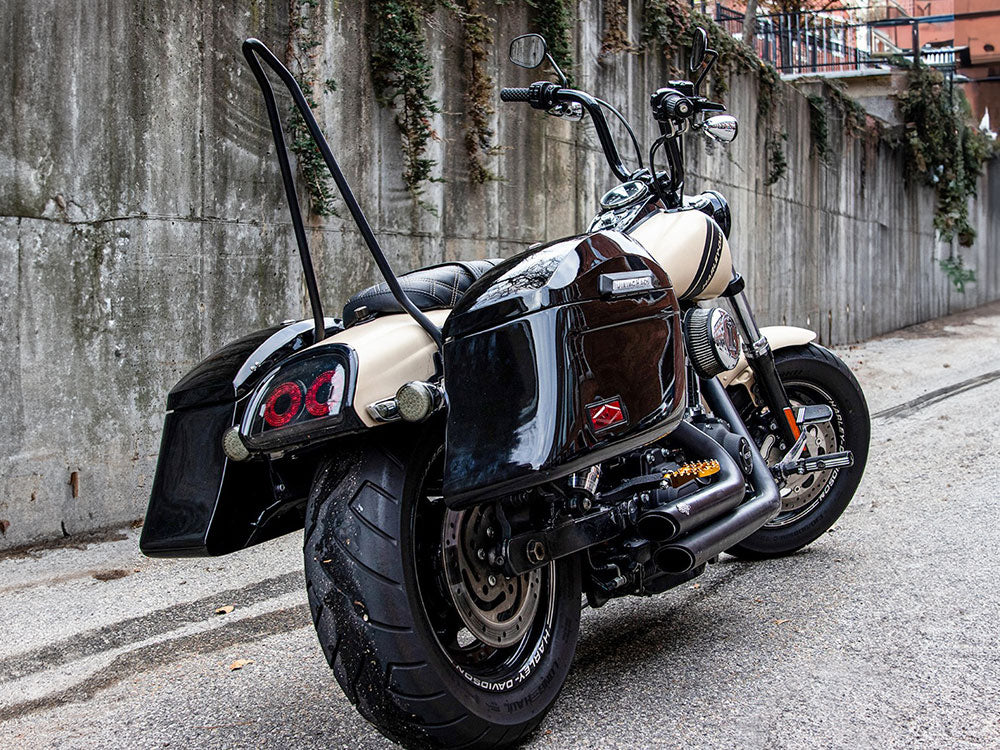
A rigid-mount motorcycle sissy bar is a simple add-on available in multiple styles, sizes, and shapes. Bolt-on rigid-mount sissy bars can be placed on rear fender struts or shock swingarms without metal fabrication or welding.
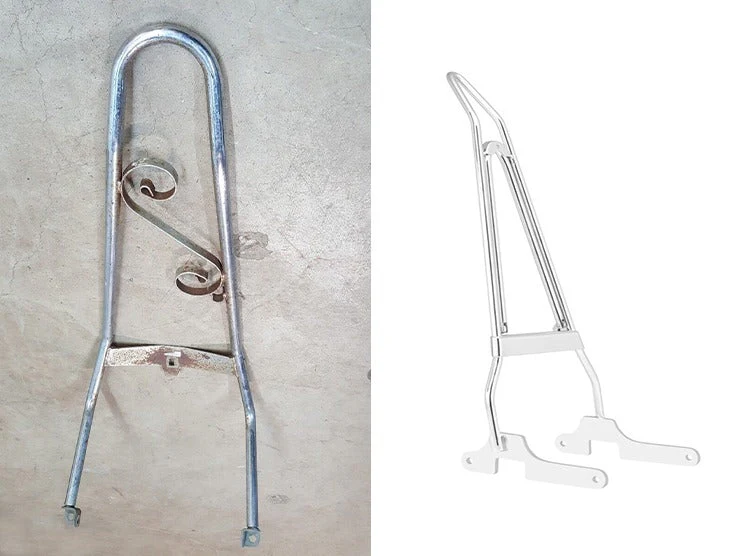
A rigid-mount sissy bar features two round steel bars welded together with a round or pointed tip. It also has rigid side plates but lacks a quick-release latch system. Universal motorcycle sissy bars have an average spread distance - the width between side plates - between 16’’-18’’ to match the dimensions of the rear fender. The rigid-mount sissy bars with welded or bolt-on side plates are installed on the fender support. Some sissy bars lack side plates altogether, allowing riders to either install them on the swing arm or purchase side plates separately to create a fender strut-mounted sissy bar.
One of the most versatile motorcycle parts, the sissy bars help give your motorcycle a custom look. Adding a sissy bar pad or a backrest can improve your sissy bar’s functionality. Non-padded sissy bars with or without luggage racks can help increase a motorcycle’s storage capacity, allowing riders to carry belongings, riding gear, or luggage for camping trips and tours. A padded sissy bar with a luggage rack is all you need to travel with a passenger and luggage. Padded sissy bars provide back support and comfort for the passenger.
Rigid-mount sissy bars also save time due to being easy to install. Once mounted, riders seldom feel the need to remove these bars due to the benefits and riding comfort they offer. Including simple, easy-to-follow steps, this guide will help teach you how to install a rigid-mount sissy bar on your motorcycle.
Table of Content
1. Installing Rigid-Mount Sissy Bars on Rear Fender Strut

The rear fender strut is the most common and safest place to install motorcycle sissy bars. Sissy bars designed to be installed on the rear fender strut may feature a rigid mount or a quick-disconnect system. To install detachable motorcycle sissy bars, you need to relocate the turn signals or cut the detachable plates with a grinder depending on the type of motorcycle you ride. Meanwhile, a rigid-mount sissy bar can be installed directly onto the motorcycle or requires temporarily removing the turn signal lenses. This installation process is simple and can be done at home.


1.1 Tools Required
- Flat Head Screwdriver - For Turn Signal Caps
- Sissy Bar Mounting Hardware - Bolts
- Torx Bits/Star Bits - Choose Correctly-Sized Torx Bit Based on the fender’s Screw Size (Torx Bit Sizes include T30, T35, T40, or T45)
- ½-Inch Wrench
- Loctite Threadlocker
1.2 Step-By-Step Installation Guide for Fender Strut-Mounted Sissy Bars
- With a flat screwdriver, remove the turn signal lenses to make space for the bolts. Lightly push the turn signal light, twist a little, and it should come right off. If it doesn't, you can still continue with the installation process by removing only the turn signal case.
- After removing the turn signal lenses, use a ½-inch wrench to remove the two bolts already on the fender strut. To tighten the bolts without damaging the bolt-head, it is best to use a Torx bit with a socket wrench. While removing the bolts, hold up the nut and washer keeping the bolt in place. Lift your motorcycle on a stand or a jack to create enough clearance for the fender and rear tire. With the rear tire out of the way, slide your hand between the fender strut and rear wheel to unfasten the bolt and catch the nut.
- Repeat the same steps on the other side.
- Next, align the holes along the sissy bar with the mounting points on the fender strut.
- Hold the sissy bar in place, then insert the bolts into the holes. You will get mounting bolts in two sizes. Usually, the longer bolt is installed towards the front near the passenger seat, while the shorter bolt is installed at the rear end. Make sure to check the manual to confirm the right fitment.
- Sissy bar hardware kits usually feature a medium-strength loctite thread locker to prevent the bolts from coming loose due to vibrations. If the bolts do not come with this adhesive already, you can apply loctite threadlocker before installing.
- Mount the front bolts on both sides to secure the sissy bar before inserting the rear bolts.
- With your rigid-mount sissy bar in place, reattach the turn signal lights and lens caps to complete the sissy bar installation.
2. Installing Rigid-Mount Sissy Bars on a Swingarm

Rigid-mount sissy bars can also be fitted on the swingarm. This mounting style is common among hardtail motorcycles without a live rear suspension. Hardtail-style swingarm sissy bars tend to lack side plates and cannot be mounted on the rear fender strut.
Motorcyclists who own a softail-style model with a live rear suspension can also install swingarm sissy bars.
2.1 Tools Required
- Mounting Tab - Mounted Above the Axle Plates
- Threading Tool - Thread Through the Frame to Bolt
- Sissy Bar Bolt - Any Size
- Welding Machine
- Loctite Threadlocker
Always use large, strong bolts to reduce the impact of harsh vibrations and stress due to the softail-style rear suspension.
2.2 Step-By-Step Installation Guide for Swingarm-Mounted Sissy Bars

When mounting a sissy bar on a softail-style swingarm, make sure the sissy bars, rear fender, and passenger seat move with the rear wheel. Otherwise the welds might break and the bolts may come loose.
Also, make sure there is a sizable gap between the rear wheel and rear fender to keep the two from touching. If they are too close when riding at high speeds, the tire rubbing against the fender will create friction, causing the tire to overheat, and the fender paint to peel off. Depending on the type of motorcycle, you need at least 6 mm-12 mm of space between the rear tire and rear fender. After mounting, go on a short test drive to see if the space needs to be adjusted.
Steps to Mount Sissy Bars on a Softail Swingarm
- Hold the rigid-mount sissy bar against the rear swingarm just above the rear axle plates.
- Weld on a small fabrication tab positioned upside down to ensure the hole is just above the axle plate. Before welding, measure and mark the points on the fabrication tab you plan to weld.
- Next, use the threading tool to connect the fabrication tab to the bolt as you attack the rigid-mount sissy bar to the swingarm. Use a small bolt to keep the fabrication tab from hitting the rear tire.
- With the bar bolted in place, weld the sissy bar to the fabrication tab on both sides to prevent the bolt from coming loose.
3. Things to Consider Before Installing a Sissy Bar on the Swingarm
While it is possible to mount sissy bars to the swingarm, it is not recommended due to there being more risk factors. Many incidents have been reported with swingarm-mounted sissy bars:
- Motorcycle luggage bags coming loose and getting caught in the rear tire or chain which results in a motorcycle crash.
- Motocampers tying their quilts and camping gear to the sissy bar, with the vibrations causing the blankets to become undone and get caught in the chain.
- Harsh vibration can cause the rear fender and sissy bar to come loose, resulting in the passenger falling off the bike


3.1 Swingarm-Mounted Sissy Bars Are Not Safe for Softail Motorcycles
Mounting sissy bars to spring and shock-loaded swingarms requires more time and effort. The first thing to consider is whether to keep the rear suspension system. The softail-style rear suspension and swingarm may not be a reliable mounting base for sissy bars, especially if you prefer taller sissy bars. The higher the sissy bar, the higher the risk of damage.
With an intact live suspension intact, a swingarm-mounted sissy bar can behave like a tuning fork and produce strong vibrations. To better absorb shock on bumpy roads, the swingarm constantly moves up and down to stretch and compress the suspension springs. The tension and vibrations that travel along the swingarm and rear fender can cause the sissy bars to weaken, the welds to break, and the fender to crack.
Considering the potential damage swingarm-mounted sissy bars can cause, it is best to install the sissy bar on the rear fender strut. But if you prefer mounting your sissy bar on the swingarm, here are tips to help with the installation while reducing risks.


3.2 Get Shorter Sissy Bars

Taller sissy bars tend to create more vibrations than shorter sissy bars. Less vibrations means that shorter sissy bars are less likely to suffer from loose bolts, broken bars, and cracked fenders. However, since shorter sissy bars are not suited for taller passengers, they are not always the most practical and comfortable option.
Riders should use short and round sissy bars with a looped design that can be fitted on air setter struts.
3.3 Replace Rear Shocks with Struts


Do not mount a sissy bar to the swingarm while the live rear suspension is intact. To avoid cracks in the sissy bar’s welded points, replace the shock absorbers with hardtail struts on each side.
Usually, a monoshock comes pre-installed on the motorbike's frame. For a rigid frame, you will have to remove the spring preload single-shock rear suspension and replace it with a monostrut. With a monostrut, the swingarm will remain still and reduce vibrations.
You can apply this process if your motorcycle has dual shocks along the exterior of the frame. Instead of mounting the sissy bars on the spring and shock-loaded swingarm, remove the live suspension, and use a 50% weld-on hardtail kit or attach hardtail mono struts on each side. Once your motorcycle has a hardtail-style rear, mount the sissy bars using the fabrication tab fitted on the swingarm near the rear axle plate.
3.4 Use a 50% Weld-On Hardtail Kit

Motorcycle 50% Weld-On Hardtail Kit
You can also modify your motorcycle’s chassis to give it a rigid frame. You will need a monostrut or a 50% weld-on hardtail kit to make the rear suspension more rigid. Motorcycle sissy bars attached to a rigid rear suspension will be more secure and reduce vibrations. This is because in a rigid frame, the swingarm stays in place and the lack of movement helps with the vibrations.
Aftermarket 50% hardtail kits can fit most motorcycles. However, to ensure the hardtail kits fit on your motorbike, some cutting, grinding, and welding may be required. Once the hardtail kit is the right size, remove the rear wheel, cut the side tubing, and leave at least three inches of space. After welding your hardtail kit in place, remove the monostrut, and continue installing the sissy bar.

Mount Hardtail Sissy Bars Near the Rear Axle Plate
Steps to Mount Sissy Bars on a Hardtail Swingarm
When mounting a sissy bar to a hardtail swingarm, almost all the steps are the same as with a softail swingarm:
- Replace the monoshock or dual shocks with a rigid monostrut or use a 50% hardtail kit to create a rigid frame.
- Once your ride has a hardtail-style chassis, hold the sissy bars against the rear axle plates and mark the areas to weld on the fabrication tabs.
- To ensure a clean welded joint, use a small chassis fabrication tab that is two inches tall and 01.8 inches thick. The tab should have a ½-inch hole no higher than 0.25 inches.
- To mount the sissy bar, use a bolt that fits in the fabrication tab. Since swingarm-mounted sissy bars do not have side plates, you can use a mounting bolt of any size as long as it can fit in the fabrication tab’s hole. To ensure better security, apply loctite threadlocker to the bolts.
- Next, connect the frame to the bolt as you secure the rigid-mount sissy bar to the swingarm.
- With the sissy bar bolted in place, weld the bar to the fabrication tab on both sides.


4. Takeaway
Rigid-mount motorcycle sissy bars offer a unique classic style and a look that complements almost all motorcycles from different categories and brands.
If you are looking for a quick, easy, and budget-friendly sissy bar installation, it is best to mount sissy bars to the rear fender strut as swingarm-mounted sissy bars require more work. If you have the budget, you can also mount your sissy bar to the swingarm, but it is best to hire a mechanic. Compared to fender strut mounted sissy bars, swingarm-mounted sissy bars pose a risk of damaged sissy bars and accidents. Therefore, avoid installing a swingarm sissy bar to a motorcycle featuring Softail style rear suspension.
Follow the instructions provided in this article for a safe sissy bar installation.
Popular Collections


Leave a comment
All comments are moderated before being published.
This site is protected by hCaptcha and the hCaptcha Privacy Policy and Terms of Service apply.