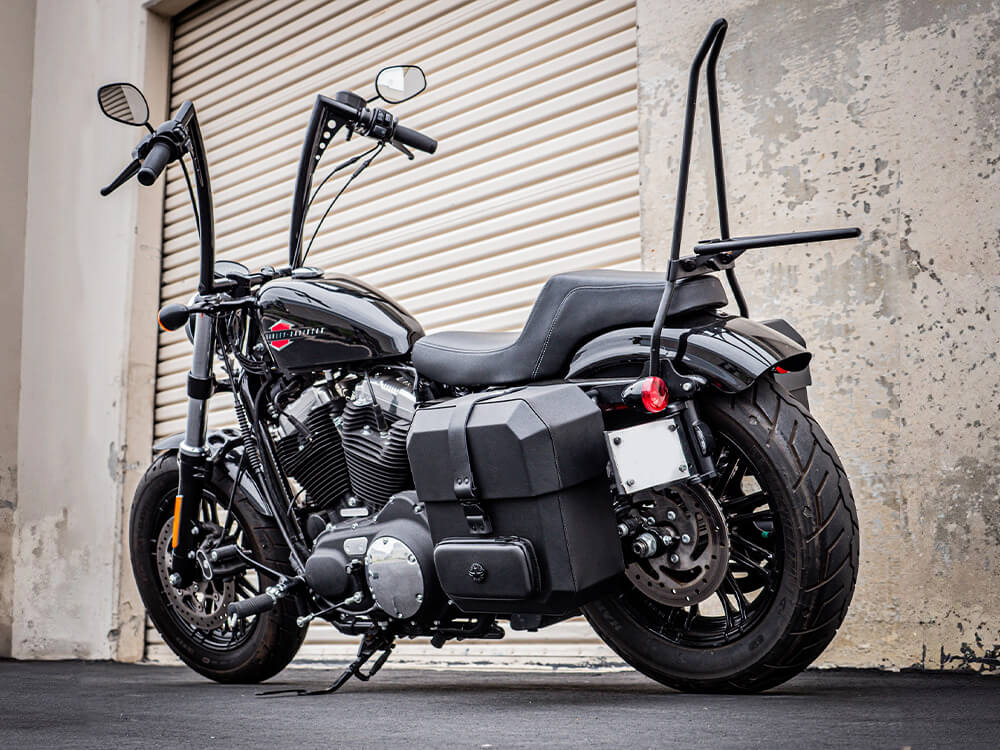
Harley Davidson Sportsters are known for their nimble handling and sporty performance. Featuring lightweight and sleek builds, Harley Davidson Sportsters can handle long tours and urban cruising.
Harley Sportsters have a stripped-down style that is customizable. A Harley Davidson sissy bar is a popular custom part that can improve your motorbike’s styling and passenger comfort.
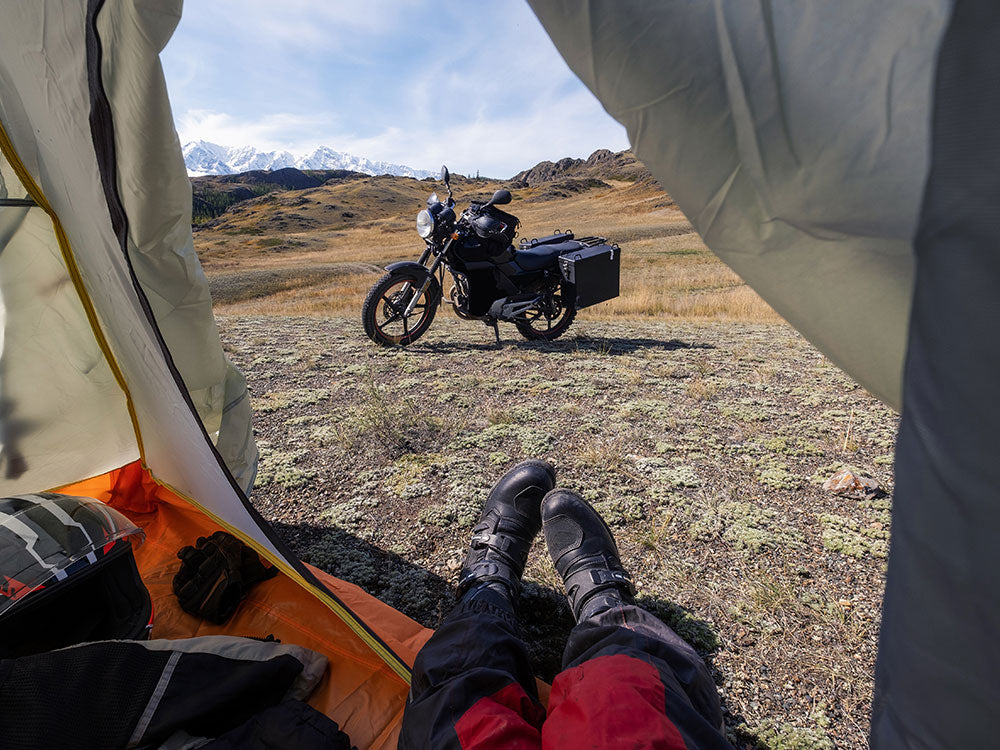
Riders who prefer lightweight Harley Sporsters but are reluctant to install heavy luggage can instead mount a lightweight sissy bar to improve touring capability and passenger comfort.
Luckily, there is a large variety of Harley Sportster sissy bars available on the market. Harley Sportster owners can choose a rigid-mount or a quick-release sissy bar. Installing a sissy bar on your Harley Sporster is a simple process that should take less than 30 minutes for rigid-mount or quick-release sissy bars.
This article provides easy-to-follow steps to help you install a Harley Sportster sissy bar.
Table of Content
1. The Right Sissy Bar for Your Harley Sportster
Harley Sportster sissy bars come in different sizes, finishes, and mounting types. Before purchasing a sissy bar, consider the following:
- Will you be riding solo or with a passenger?
- Be mindful of your passenger’s height
- Do you prefer a rigid-mount or quick-release sissy bars?
- Do you prefer Sportster sissy bars with foldable luggage racks or a separate luggage rack?
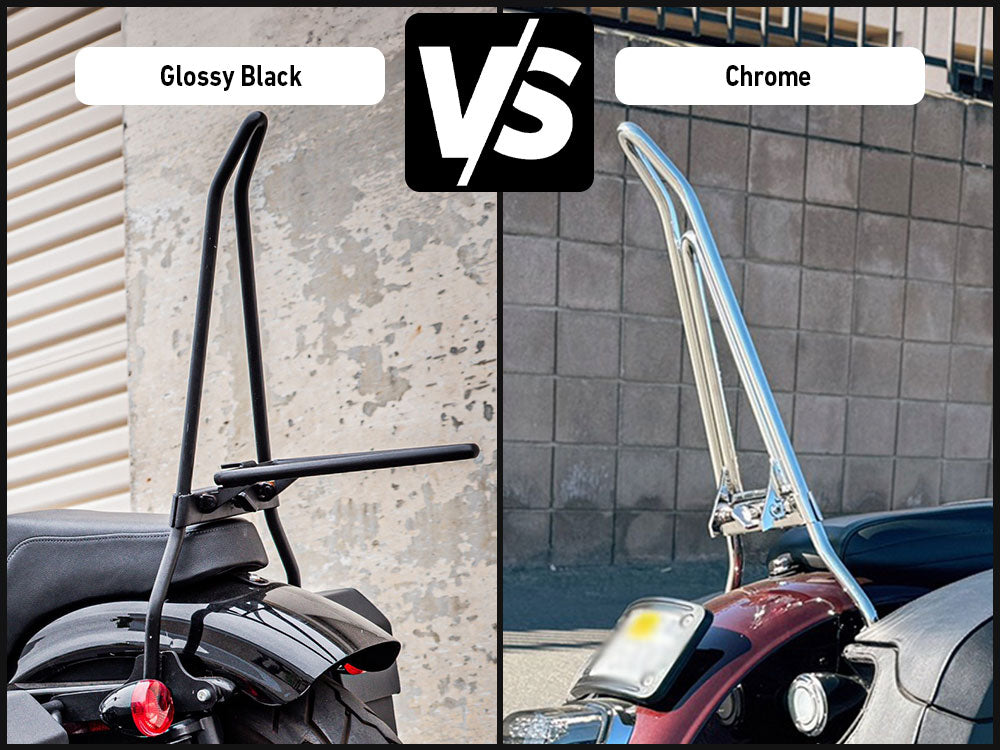
Harley Sportster motorcycle sissy bars have two mounting systems: a rigid-mount or a quick-release system. Both types of sissy bars are available in a chrome or black finish that complements your motorbike’s style. These sissy bars can come in different sizes to better suit your passenger’s height.
2. How to Install Rigid-Mount Sissy Bars on Harley Sportster Motorcycles

Rigid-mount sissy bars have side plates that function as mounting brackets, requiring specific mounting hardware. Harley Sportster sissy bars from renowned brands can be installed the quickest.
Tools Required
- Flat-Head Screwdriver
- ½-inch Wrench
- Torx Bit - Preferably T40
- Torque Measuring Tool
- Hex-Head Allen Screws (or Included Mounting Hardware)


Installation Steps
- Clean the fender struts to remove dust and debris.
- Use a flat-head screwdriver to remove the turn signal cap.
- Use a wrench with a Torx bit attached to unfasten the front bolt on the rear fender strut. Hold the nut behind the bolt as you unfasten to keep it from falling.
- Repeat these steps on the other side.
- Unfasten the rear bolts and catch the brackets/nuts holding the bolts in place. For most Harley Sportster models, the front bolts are secured with nuts, while the rear bolts are secured with brackets.
- After removing all four fender strut bolts, align the rigid-mount sissy bar with the holes along the rear fender strut. The side plates are shaped to fit around the turn signals.
- Apply loctite on the new bolt-on hardware included with the Harley Sportster sissy bars, then slide it into the holes.
- Once all the bolts are in place, check the torque using a dial wrench and put the turn signal cap back in place.
3. How to Install Quick-Release Sissy Bars on Harley Sportster Motorcycles


All quick-release Harley Sportster sissy bars come with a quick-release latch that slide over the docking points. Harley Sportster quick-release sissy bars feature a four-point docking system and a latch-lock system. Installing a quick-release Harley Sporster sissy bar usually takes less than 15 minutes.
Tools Required
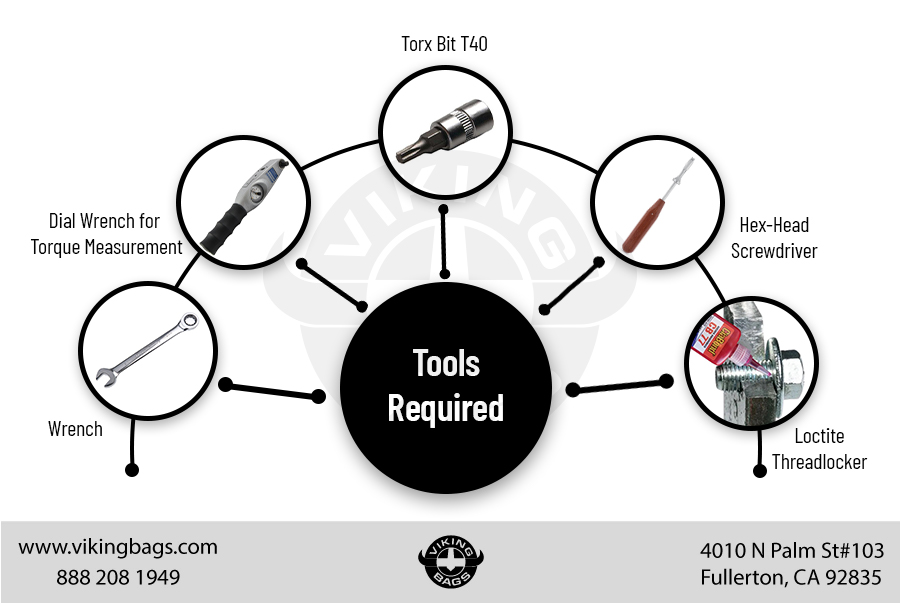
- ½-Inch Wrench
- Torx Bit - Preferably T40
- Torque Measuring Tool - A Dial Wrench or A Digital Torque Wrench
- Loctite Threadlocker
- Hex-Head Screwdriver
- Included Docking Hardware
Installation Steps
- Use a wrench or a T40 Torx bit to remove the old front bolts on the rear fender strut before inserting the front docking hardware. Hold the nuts along the rear fender while unfastening the bolts.
- The new front docking hardware is smaller and has a ridge that goes inside the docking point. Slide the front bolt through the docking hardware and apply loctite threadlocker to the bolt.
- As you position the new front docking hardware, insert the front bolt and fasten the nut behind the fender. If you have difficulty fastening the nut, use a jack to lift your Harley Sportster to create enough space to hold the nut in place and torque the bolt from the front.
- To verify whether the bolt is fastened to a specific level of torque, use a torque measuring tool. At high speeds, sissy bars can be subjected to heavy vibrations that might loosen the bolts.
However, applying to much torque to a bolt can damage the threaded bolts and fasteners. To measure torque accurately, use a dial wrench or a digital torque wrench.
- With the front docking hardware in place, remove the rear bolts using a wrench.
- This step is optional. But if you want to protect the turn signal lenses, you can remove the turn signal cap before unfastening the second bolt behind the turn signals. If you prefer leaving the turn signal caps on, use a wrench with a Torx bit attacked to carefully remove the rear bolt.
- The rear docking hardware is larger and features a small ridge that fits into the docking hole. Slide the bolt through the docking hardware and apply loctite onto the bolt. Fasten the bolts to prepare the docking base for the Harley Sportster quick-release sissy bars.
- Slide the quick-release sissy bars on the front docking points and then on the back. Press the back of the sissy bar lightly into place until you hear a click.
3.1 Installing Quick-Release Sissy Bars with Luggage Racks
If you plan to install quick-release Harley Sportster sissy bars with luggage racks, there are additional steps you must follow:
- Remove the top bolt on the rear fender before installing the rear docking points on the fender support.
- As Harley Davidson Sportster motorcycles lack a passenger seat, the top bolt on the rear fender can be used to secure a pillion/passenger seat. However, if you install the luggage rack without a passenger seat, you would use the same bolt to mount the luggage rack on the fender.
- After removing the top bolt using a hex-head screwdriver, insert a large contoured washer between the fender bracket and fender.
- Unfasten the two rear bolts on the fender strut to loosen the rear fender.
- Slide your hand in between the rear tire and the fender as you secure the contoured washer in place.
- After fastening the washer, put the top bolt removed earlier from the fender back temporarily to hold the washer and fender bracket in place.
- Hold the luggage rack against the rear holes on the side of the fender struts and install the docking hardware to affix the luggage rack. Slowly fit the luggage rack to prevent paint from chipping or causing other damage to the fender.
- Remove the top bolt fitted earlier on the fender holding the contoured washer and bracket in place.
- Put a nylon or rubber washer on top of the fender above the hole. Then place a steel washer on the top of the fender top and place a small spacer over that.
- Lastly, place a medium-sized washer larger than the spacer and align the luggage rack with the holes on the fender before bolting it in place.
- After installing the luggage rack, slide the quick-release sissy bars on the rear docking points next to turn signals on the fender struts and lock the latch system.
4. Takeaway
Harley Sportsters are powerful cruisers with a stripped-downlook that can be customized with aftermarket parts to improve their functionality and look.
Harley Sportster sissy bars are a popular custom accessory. Installation is usually quick and easy, not requiring a trip to a mechanic or a hardware shop. Harley Sportster sissy bars are also more affordable than other aftermarket parts.
When installing Harley Sportster sissy bars, carefully follow the steps in this article to avoid issues during installation.
Popular Collections


Leave a comment
All comments are moderated before being published.
This site is protected by hCaptcha and the hCaptcha Privacy Policy and Terms of Service apply.