
Whether for customizing, rust prevention, or restoring the factory paint job, there are many reasons why riders want to paint their motorcycles’ engines. But only a few motorcycle enthusiasts actually paint the engines.
Compared to other motorcycle parts like fenders, wheels, fuel tank, brake calipers, fairing, and hard luggage, painting an engine is harder and also a bit more risky. Many don’t have the skill or knowledge to remove and safely reinstall motorcycle engines. Many riders find the risk of the engine mounting bolts coming loose as they ride discouraging. Others avoid painting because of the increasing costs of paint jobs and hiring a mechanic, with such services being unavailable to most riders.
Luckily, it is possible to paint a motorcycle without removing it from the frame. Continue reading to learn how to create a professional-looking motorcycle engine paint job at home.
Also Read: How to Paint a Motorcycle Engine
Table of Content
1. DIY Motorcycle Engine Paint Job - Get Started
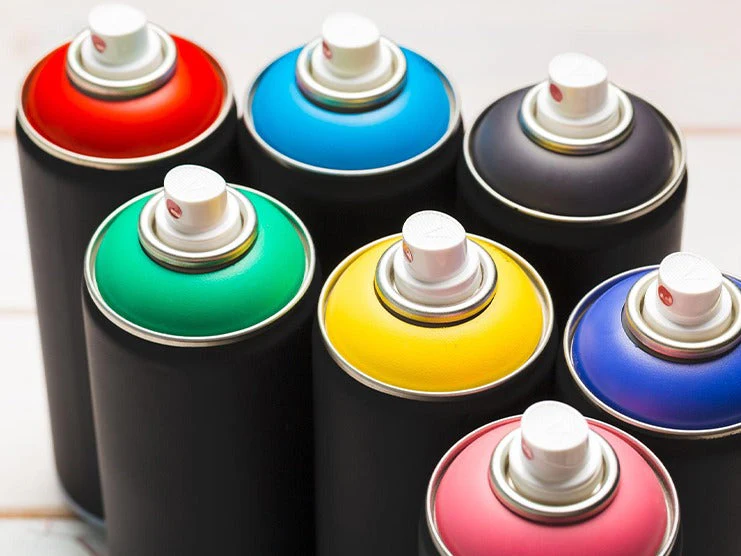
Unlike spray painting a motorcycle fairing, fuel tank or fenders, painting the engine requires a certain level of skill and caution. You also need to use specific types of paint for the engine. Regular metallic spray paints tend to peel off more easily and can even catch fire if the engine block heats up. Hence, you need a heat-resistant spray that can tolerate high heat and will not crack, blister, or peel. Here are some spray paints suited for motorcycle engines:
- VHT Engine Enamel Paint (Heat Resistance - 550°F)
- Rust Oleum Engine Enamel Paint (Heat Resistant - 600°F)
- PJ1 Spray Paint (Heat Resistance - 500°F)
- Duplicolor Engine Paint (Heat Resistance - 500°F)
Except for PJ1, all the spray paint brands listed above offer heat-resistant paint in various colors. Another benefit of these spray paints is that you can cure the paint by turning on the engine.
1.1 What You’ll Need
- Masking Tape
- Newspapers
- Heat-Resistant Spray Paint
- Degreaser
- Small Paint Brush
- 400 Grit Sandpaper
- 80 Grit Sandpaper (optional)
- Clear Lacquer
- Engine Enamel Primer
1.2 Step 1 - Degrease and Clean the Engine
Clean the engine block by spraying on degreaser and rust remover. Spread the cleaning products with a thin paint brush so that the one side is cleaned. With a scouring pad, scrub away any dirt and rust, then clean the engine with a cloth. Repeat on the other side of the engine.
1.3 Step 2 - Sand the Engine Block and Fins
Use 400 grit sandpaper to buff the engine block, especially the fins. Sanding helps the paint stick better to the engine surface and provides an industrial-grade paint finish. Prepping and sanding a frame-mounted engine can be difficult since you cannot reach all the crevasses and contours easily, which may take up a lot of time.
1.4 Step 3 - Cover the Frame
Before you paint the engine, cover the frame, side covers, seat, and surrounding parts with newspaper and masking tape to keep paint from getting on them.


1.5 Step 4 - Apply Heat-Resistant Primer
Apply a thin coat of heat-resistant enamel primer on both sides of the engine. Leave the primer to dry for 15-30 minutes before applying the color coat. The enamel primer will ensure optimal adhesion, seal imperfections, create a smooth surface, offer a long-lasting color scheme, and reduce peeling.
1.6 Step 5 - Apply Heat-Resistant Paint
Apply a thin coat of heat-resistant paint on both sides of the engine. Let it dry for two minutes, before applying the second coat. To intensify the color, apply a third and fourth coat in a similar manner. Make sure you hold the spray nozzle 7-10 inches from the engine to create a light, even coat. Most engine paints dry quickly and can be ready in 30-60 minutes. However, it is recommended you leave the paint to dry for 2-3 hours. If you do not want to paint the cooling fins and chrome bits of the engine, then sand the fins with 80 grit sandpaper to remove the paint.
1.7 Step 6 - Apply Clear Coat
If you want to highlight the paint on the cooling fins, then polish the fins and apply a coat of heat proof clear coat. You can also spray the lacquer on the chrome accents to restore the engine’s shine and prevent rust. However, lacquer cannot be applied on enamel paint, so do not apply lacquer on painted parts.
1.8 Step 7 - Remove the Masking Tape
Once the paint is completely dry, remove the newspapers and masking tape to see the final results.
1.9 Step 8 - Cure the Paint
Curing helps remove excess water from the spray paint and activates the chemical reactions that help the paint bond with the engine surface. Properly cured paint is durable and easier to maintain. Follow the steps listed on the spray bottle.
1.10 Warning
- Engine enamel paint contains harmful chemicals that can cause respiratory issues. Always wear a respirator when handling.
- Always test the paint consistency on a spare piece of metal or wood before applying it on the engine block.
- A highly flammable product, engine spray paint should be stored in a cool and dry place away from sunlight, heat, and electricity.
- Let the engine cool down completely before applying paint.
- Always paint in a ventilated space with a humidity level below 60% and a temperature between 60°F and 92°F.
- Always cover your motorcycle when not being used to retain the paint finish.
- Always check for oil and fuel leaks before painting the engine.
2. Takeaway
Giving your motorcycle engine a new look only requires following a few simple steps and having 1½ cans of spray paint. Some might argue that the finish and color effect will not be the same without removing the engine from the frame. However, the quality of your paint job depends on how well you clean and sand the engine surface. This method works best for riders who want to restore old paint chipping from the front of the engine. Beginners who are painting a motorcycle part for the first time should read this guide and the instructions printed on the aerosol can before applying paint.
Popular Collections


Leave a comment
All comments are moderated before being published.
This site is protected by hCaptcha and the hCaptcha Privacy Policy and Terms of Service apply.